You’ve made the big decision to move to Italy, and now you’re ready to start your adventure. Congratulations! But not so fast. Aside from the countless other logistics, you also have to figure out how to bring your pets—namely dogs—with you to Italy. This can get complicated, especially if they’re too big to fly in the cabin. While several service providers offer to help fly your pets overseas, we learned that the process was nearly the same to do it ourselves—and we saved thousands of dollars. Now, grab your bags. We’ve got a flight to catch.
The Business of Pet Transport
When we decided to move, one of our first internet searches was “How to Fly Your Dog to Italy.” Instantly, we were overwhelmed. In that moment, ads began to pop up for service providers who could help with the process. We talked to several of them and got quotes between $8,000 to $13,000, and that didn’t include the crate, the plane ticket, or vet visits. In fact, we would have had to drop our pets off in the next state over and then met them upon landing. But all the prep work? We still had to do that ourselves. Basically, we would have paid someone to wait in line with our dogs at the airport.
Of course, you can always opt for a private jet to get your pet overseas. A shared flight costs around $10,000 per dog and person. If your pet is very old or very sick—or if they’re too big to fit in the cabin or in cargo, this could be a helpful option. But to be honest, we didn’t have that kind of money.
So… we put in the research and figured it out ourselves. Flying your dog from the United States to Italy involves careful planning and adherence to specific regulations set by both countries. In the end, it comes down to the right vet, the right kennel, and the right airline.
Bringing Pets to Italy Step-by-Step
Step 1: Call the Vet
To prepare the necessary paperwork for dogs to travel to Italy from the US, you should work closely with your veterinarian. We wanted to make sure we worked with a veterinary office that had experience in preparing pets for overseas travel, so we called around and found one that had regularly processed this type of paperwork.
Your vet should help you complete the following so your dog is ready for international travel. In our case, our vet helped us establish a timeline to complete our tasks and ensured that all of our paperwork was completed and returned on time.
Microchipping
Your dog must be microchipped with an ISO 11784/11785 compliant 15-digit pet microchip. Make sure the microchip is registered with your contact information. If your dog is already microchipped, confirm that the chip is functioning correctly.
Rabies Vaccination
Your dog must be up-to-date on its rabies vaccination. If your dog has never been vaccinated for rabies or if the previous vaccination has expired, your veterinarian will administer a rabies vaccine. This vaccination should be done at least 21 days before the date of travel. Make sure to keep the vaccination certificate provided by your veterinarian.
EU Pet Passport
The United States doesn’t issue EU Pet Passports, but your veterinarian can help you create a health certificate that meets Italy’s requirements. This certificate should include the dog’s microchip information, rabies vaccination details (including the date, vaccine brand, and serial number), and the dog’s health status.
Tapeworm and Tick Treatment
If you’re traveling to Italy from the United States, you may need to provide evidence of a tapeworm and tick treatment. This treatment should be administered by a licensed veterinarian within a specific timeframe before your departure. Your veterinarian will document this treatment in the health certificate.
Health Certificate
Your veterinarian will issue an official health certificate for your dog. The certificate should confirm that your dog is in good health, free from contagious diseases, and fit for travel. The health certificate should be issued within ten days of your departure date.
USDA Endorsement
After your veterinarian completes the health certificate, either the vet or you will need to send it to the USDA (United States Department of Agriculture) office for endorsement. Our experienced vet sent the paperwork for us! The USDA needs to review your pet’s documents and ensure they meet the import requirements of Italy. Review the guidelines on the USDA here. Keep in mind, it can take up to three business days for the USDA endorsement to be completed.
Additional Requirements
Check for any additional requirements with the Italian embassy or consulate and keep up to date with any changes in regulations, as they can evolve over time. These documents must comply with the European Union Regulation. Also check your airline requirements: If you plan to travel by air, contact your chosen airline to inquire about their specific pet travel requirements and make a reservation for your dog in advance.
Remember that the preparation process may take several months, so start well in advance of your planned travel date to ensure that your dog has all the necessary documentation and vaccinations to enter Italy without any issues.
Step 2: Prepare the Pup
All three of my rescue dogs were too big to fly in the cabin on our international flight. After months of research and talking to others, we decided to fly them in the cargo hold on a KLM flight. Now, flying in cargo DOES NOT mean your pets are flying in a pile of suitcases. In fact, plane cargo holds have a specific room that is temperature controlled for the transport of live animals. Once we extensively researched both the process and the airline’s track record, we decided this was our best way to go. Now, we needed to prepare our dogs for a long day of travel.
Before your pet can fly in the cargo hold, you’ll need to purchase an airline-approved pet carrier that is well-ventilated, escape-proof, and large enough for your dog to stand, turn around, and lie down comfortably. Now, I’m not sure I should admit this, but none of my dogs were crate trained before flying. We had to start from scratch, so we began preparing a few months prior to the big day.
Marlowe and Jasper learning to love their kennels.
When looking for the right kennel, it’s important to confirm with your chosen airline any specific requirements for traveling with a dog, such as crate dimensions, breed restrictions, and any additional fees. You will need a specific size based on your dog’s measurements. Although each airline may have different requirements, here are the pet transport rules from KLM. You should also bring proof of your kennel size with you to the airport—and don’t forget to convert it to centimeters!
We needed two different crate sizes for our dogs, and we ordered this Petmate Sky Kennel, along with zip ties (these are important!), and a waterproof, temperature controlled dog bed to keep our dogs warm. We then visited our local pet store for a sturdy food and water dish that attaches to the door (water bottle gets filled from the outside).
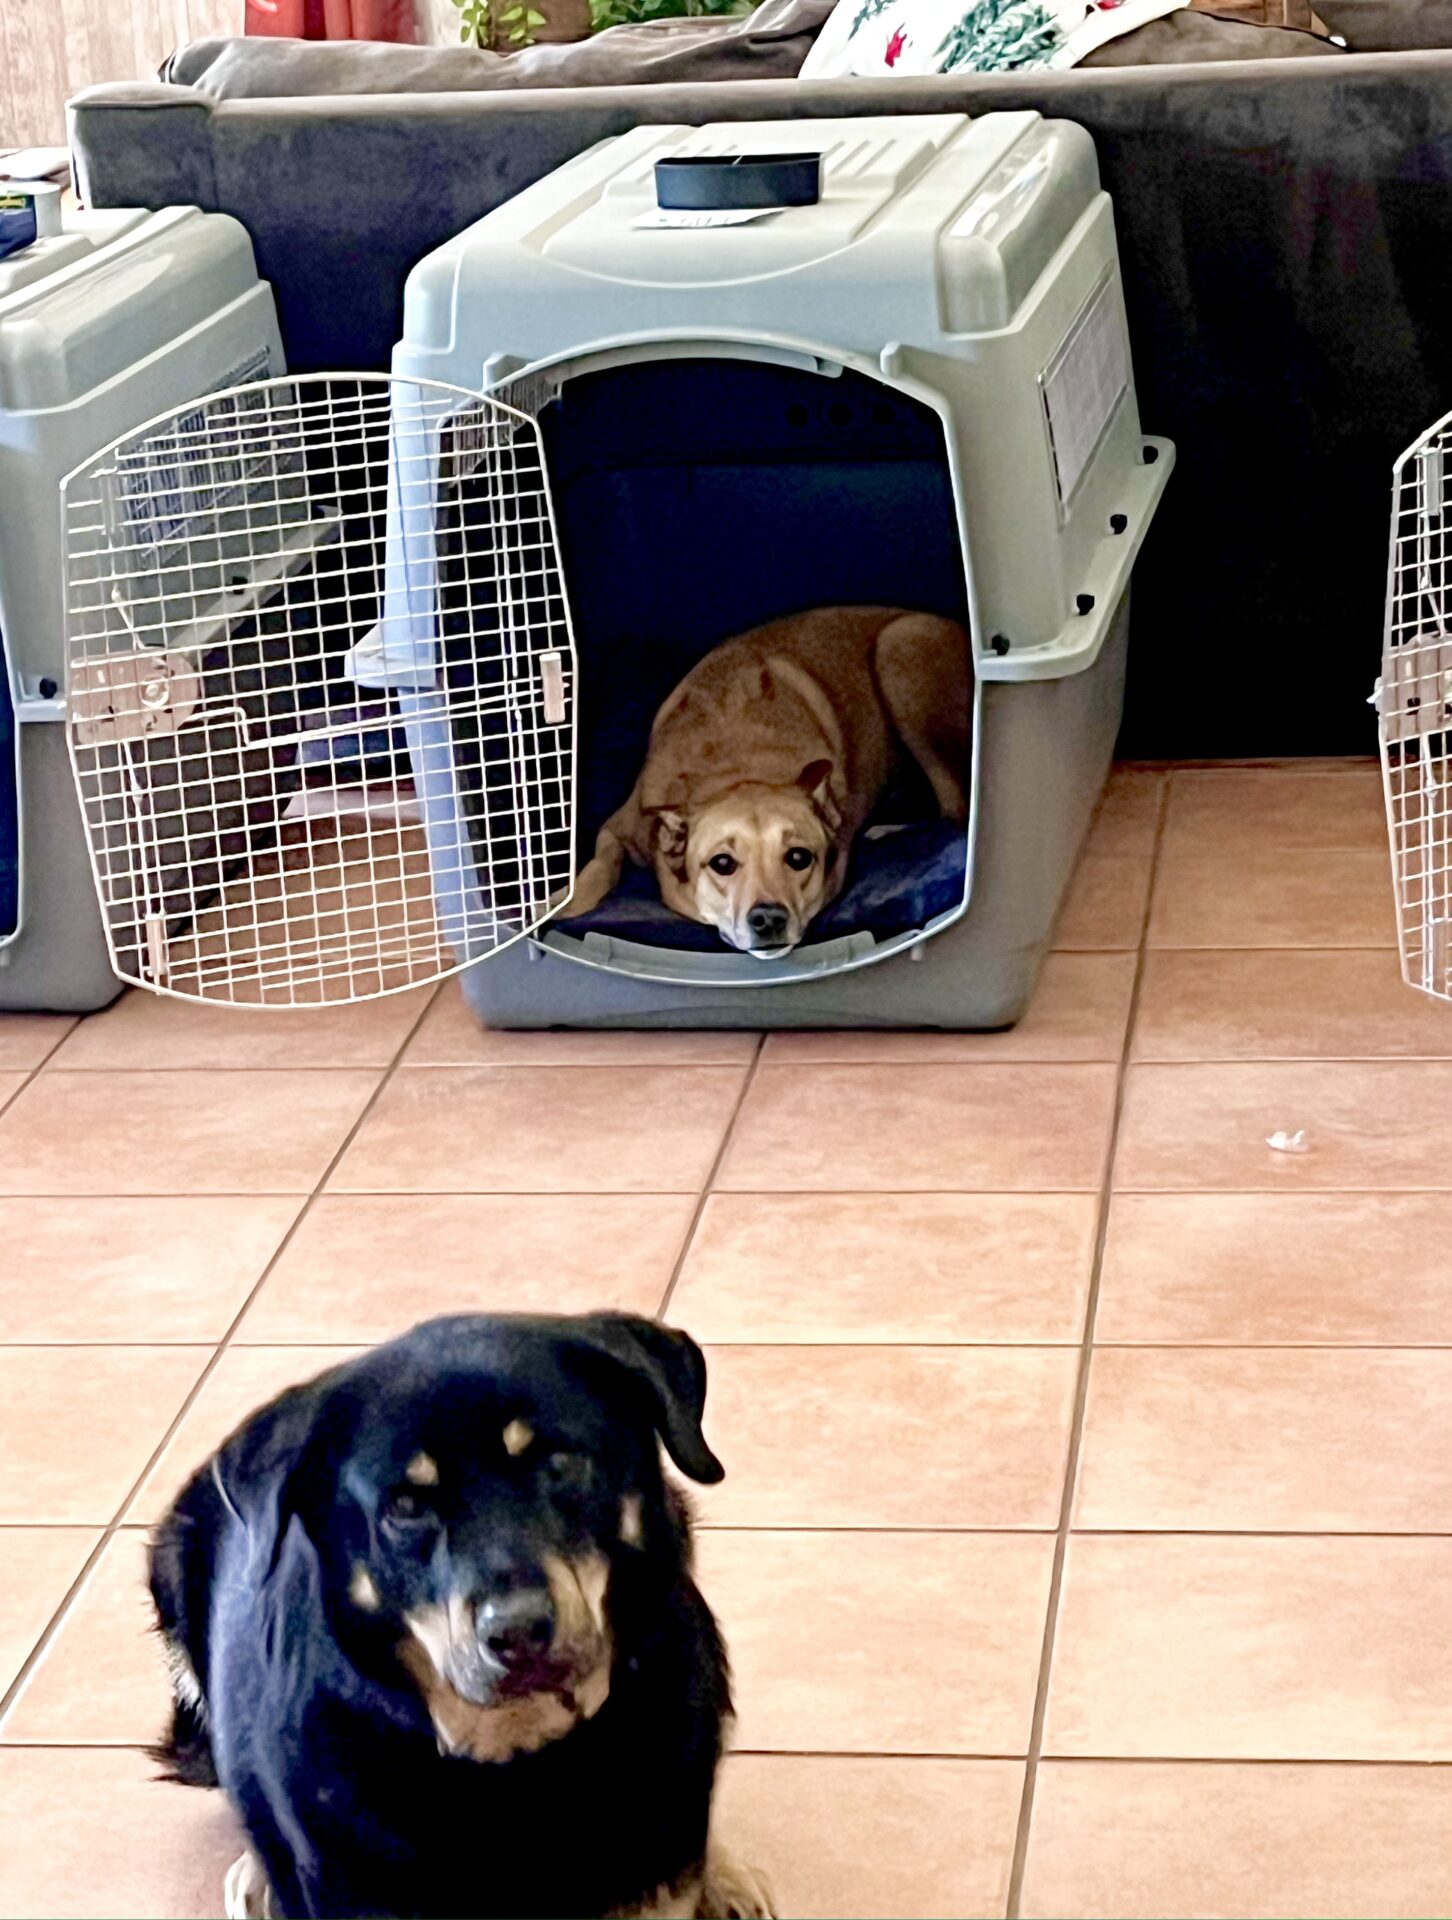
When flying, dogs are not allowed to have any toys or treats inside the kennel with them. In addition, they are not allowed any sedatives to calm them. So it’s important to familiarize your dog with the crate in the weeks leading up to the flight to reduce stress during travel. We ended up putting the open kennels in our living room with the new dog beds inside, alongside a few of my old T-shirts. Several times a day, I’d toss in a treat and the dogs would go inside to get it, growing less afraid each time. Eventually, the dogs began sleeping in the kennel on their own!
On the day of travel, they all happily got inside their kennel. I’m glad I was able to give them the comfort of a familiar bed on such a stressful day.
When you arrive at the airport, you will need zip ties for the crate door, and I highly recommend getting removable zip ties. On top of our kennels, we taped a picture of our dog, his/her name, and other details—plus our flight info, our contact info, and a sleeve for copies of their required travel paperwork (keep the originals with you). We also taped a strong Ziplock bag with some dog food and their leashes to the top. You will put signs that say LIVE ANIMAL on the crate, but most kennels you purchase will come with the sticker. Not sure if this is allowed, but for peace of mind, we also added a small tracking device—which actually came in handy.
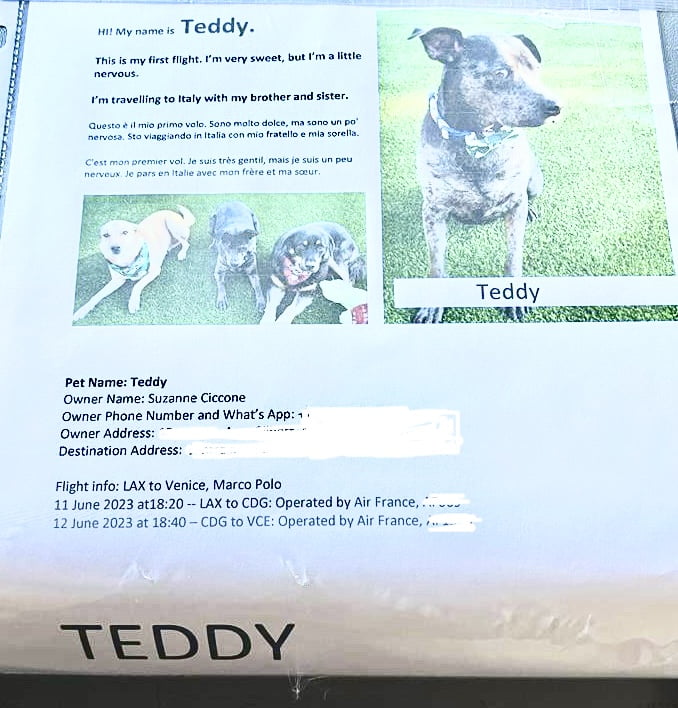
Teddy’s profile taped to his crate, with his picture, just in case he managed to escape.
Different airlines may have additional rules or guidelines for pet transportation.
Step 3: Let’s Fly
When deciding which airline to use, there are quite a few factors to consider. We lived in Arizona, which brought its own set of challenges. Depending on the outside temperature, flights may not allow your pet in cargo. This is why it’s important to understand your moving timeline and plan ahead. We had to leave a few weeks earlier than expected because we were worried it would get too hot to fly.
After weighing all of our options and talking with professional pet transporters, we got consensus that KLM was a dependable airline for pets in the cargo hold. To reserve our airline flights, we called the airline to book directly. With the helpful agent, we reserved both our tickets and our pets’ tickets. This is important because there are limits on which flights can take animals in the hold, as well as airline limits on how many animals can be booked per person and per flight. We reserved our seats and then had to check back a few days later to see if the pets were approved for the flight.
The plane tickets for our dogs cost $400 each, much less than the $11,000 we had been quoted from a pet transport company. We did end up flying out of LAX because we were told they had more experience with international pet travel. If you can’t get a direct flights, it’s also important to consider your layover airport. Some airports are better than others when it comes to pet transfers. We wanted to fly through Amsterdam, but ended up with Paris—a little stressful, but it worked out okay.
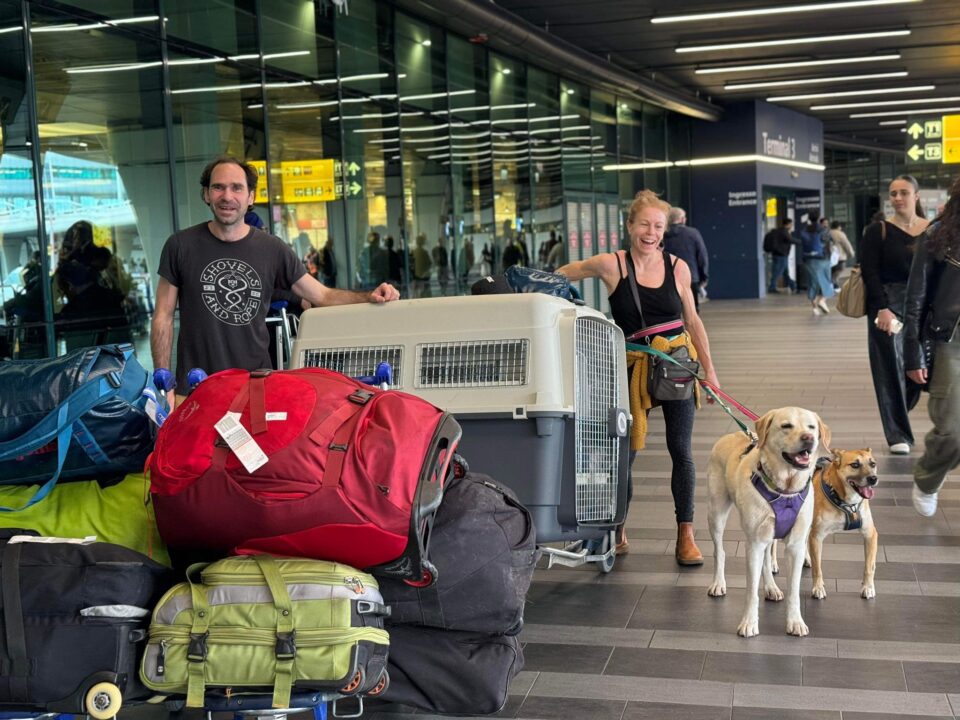
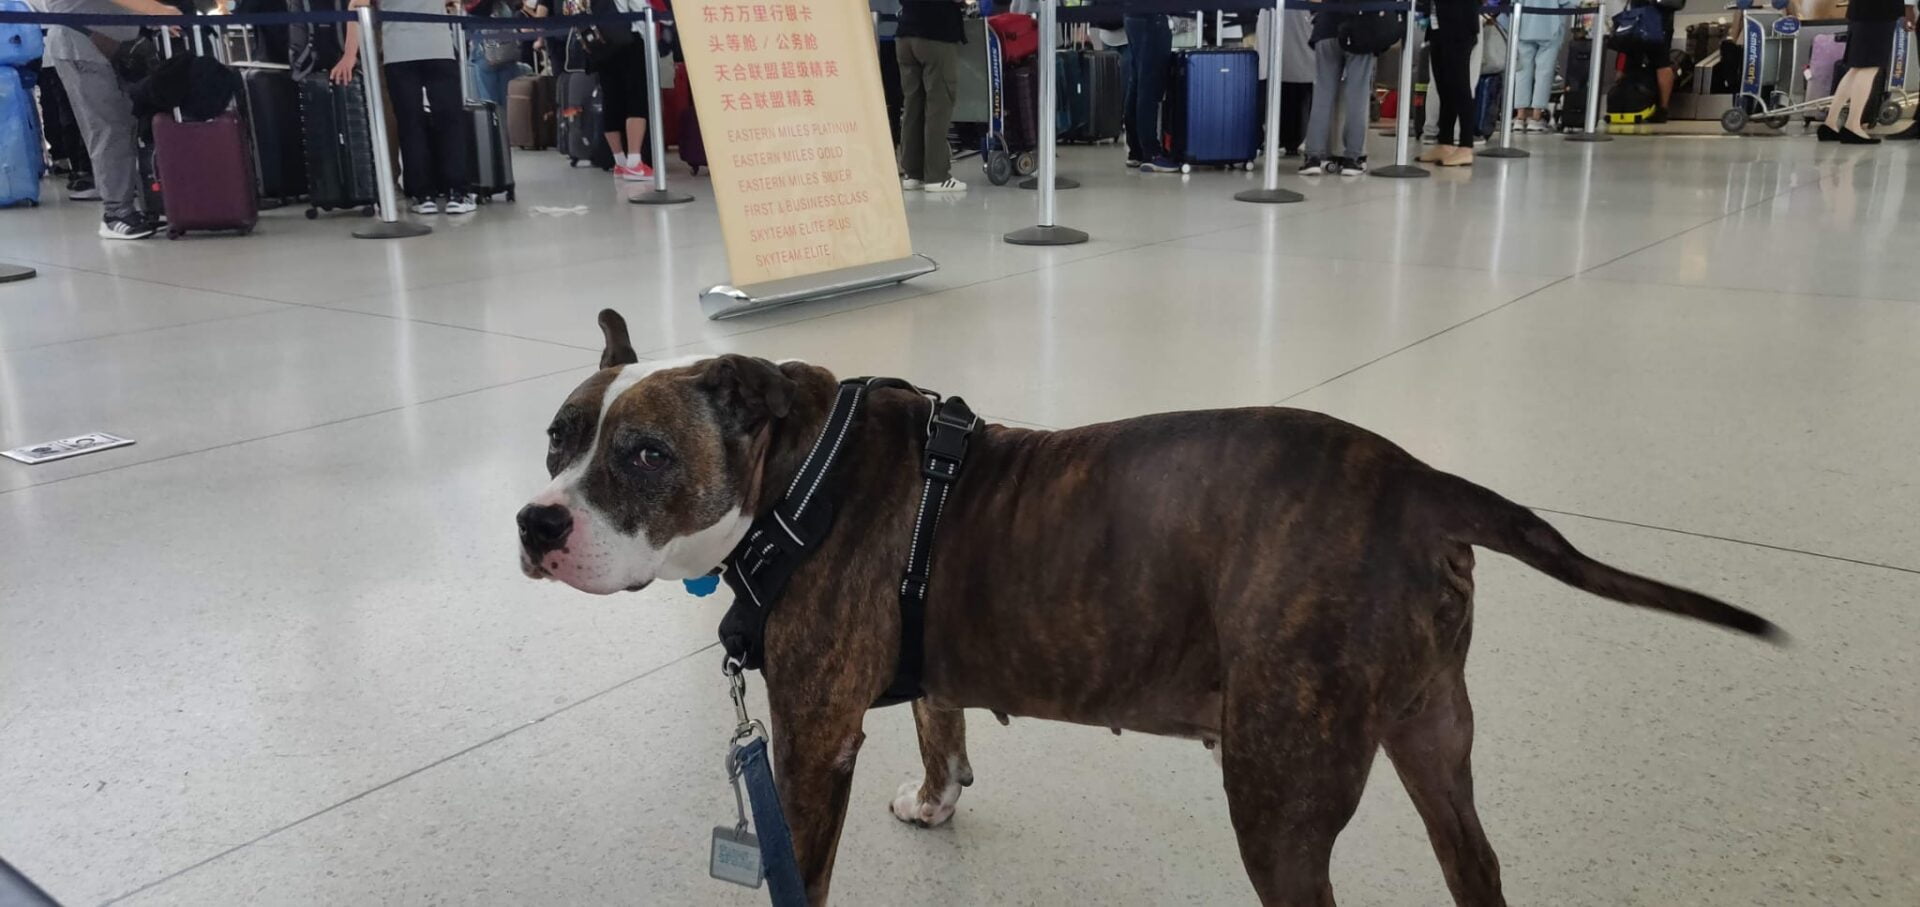
To fit all three crates in a vehicle, we rented a mini-van and drove the six hours to LAX. Oh, boy. What a day that was. The airport was chaotic, the lines were long, and one of my dogs decided that he wanted to bark at everyone. The entire time. Despite him being a bit of a nuisance, the airline workers were very kind.
Four hours before our flight, we got in line at international check in for KLM, and they waved us toward oversized baggage check in. They issued our tickets and checked the paperwork for our dogs. They then had us bring them over to an inspection station. There, a worker inspected the kennel, checked the dog, and then made sure the doors were properly zip-tied.
I got a little weepy and waved goodbye as my dogs were wheeled off, the small one still barking.
Fellow travelers Allen and Tabitha share a photo of Rebel’s second thoughts.
It was eight hours later when we went to pick up our dogs in France for our layover. Unfortunately, we didn’t understand where they would be taken and ended up frantically running around the Paris airport. We checked our location tag and realized the dogs were at oversized baggage claim, waiting with a nice worker who spent the time trying to calm down our barker.
Once retrieved in Paris, we fed the dogs and took them for a walk outside the airport. We then had to check them back into oversized luggage and promised to find them faster when we arrived in Italy. In the check-in line, we stood with several other travel-exhausted owners, and they all took turns trying to sweet-talk my barking dog. To note, he would immediately stop barking when I stood next to him. He just wanted my attention.
Finally, we arrived at Venice Marco Polo airport! Not only were the dogs safe and healthy, they didn’t have any accidents in the kennel either. After customs, we picked up the dogs from oversized baggage claim and walked out—no extra vet visit required at that time. This may be different depending on your arrival airport and time. Since we flew from the US to an EU country before Italy, our situation may be different than a direct flight to Italy.
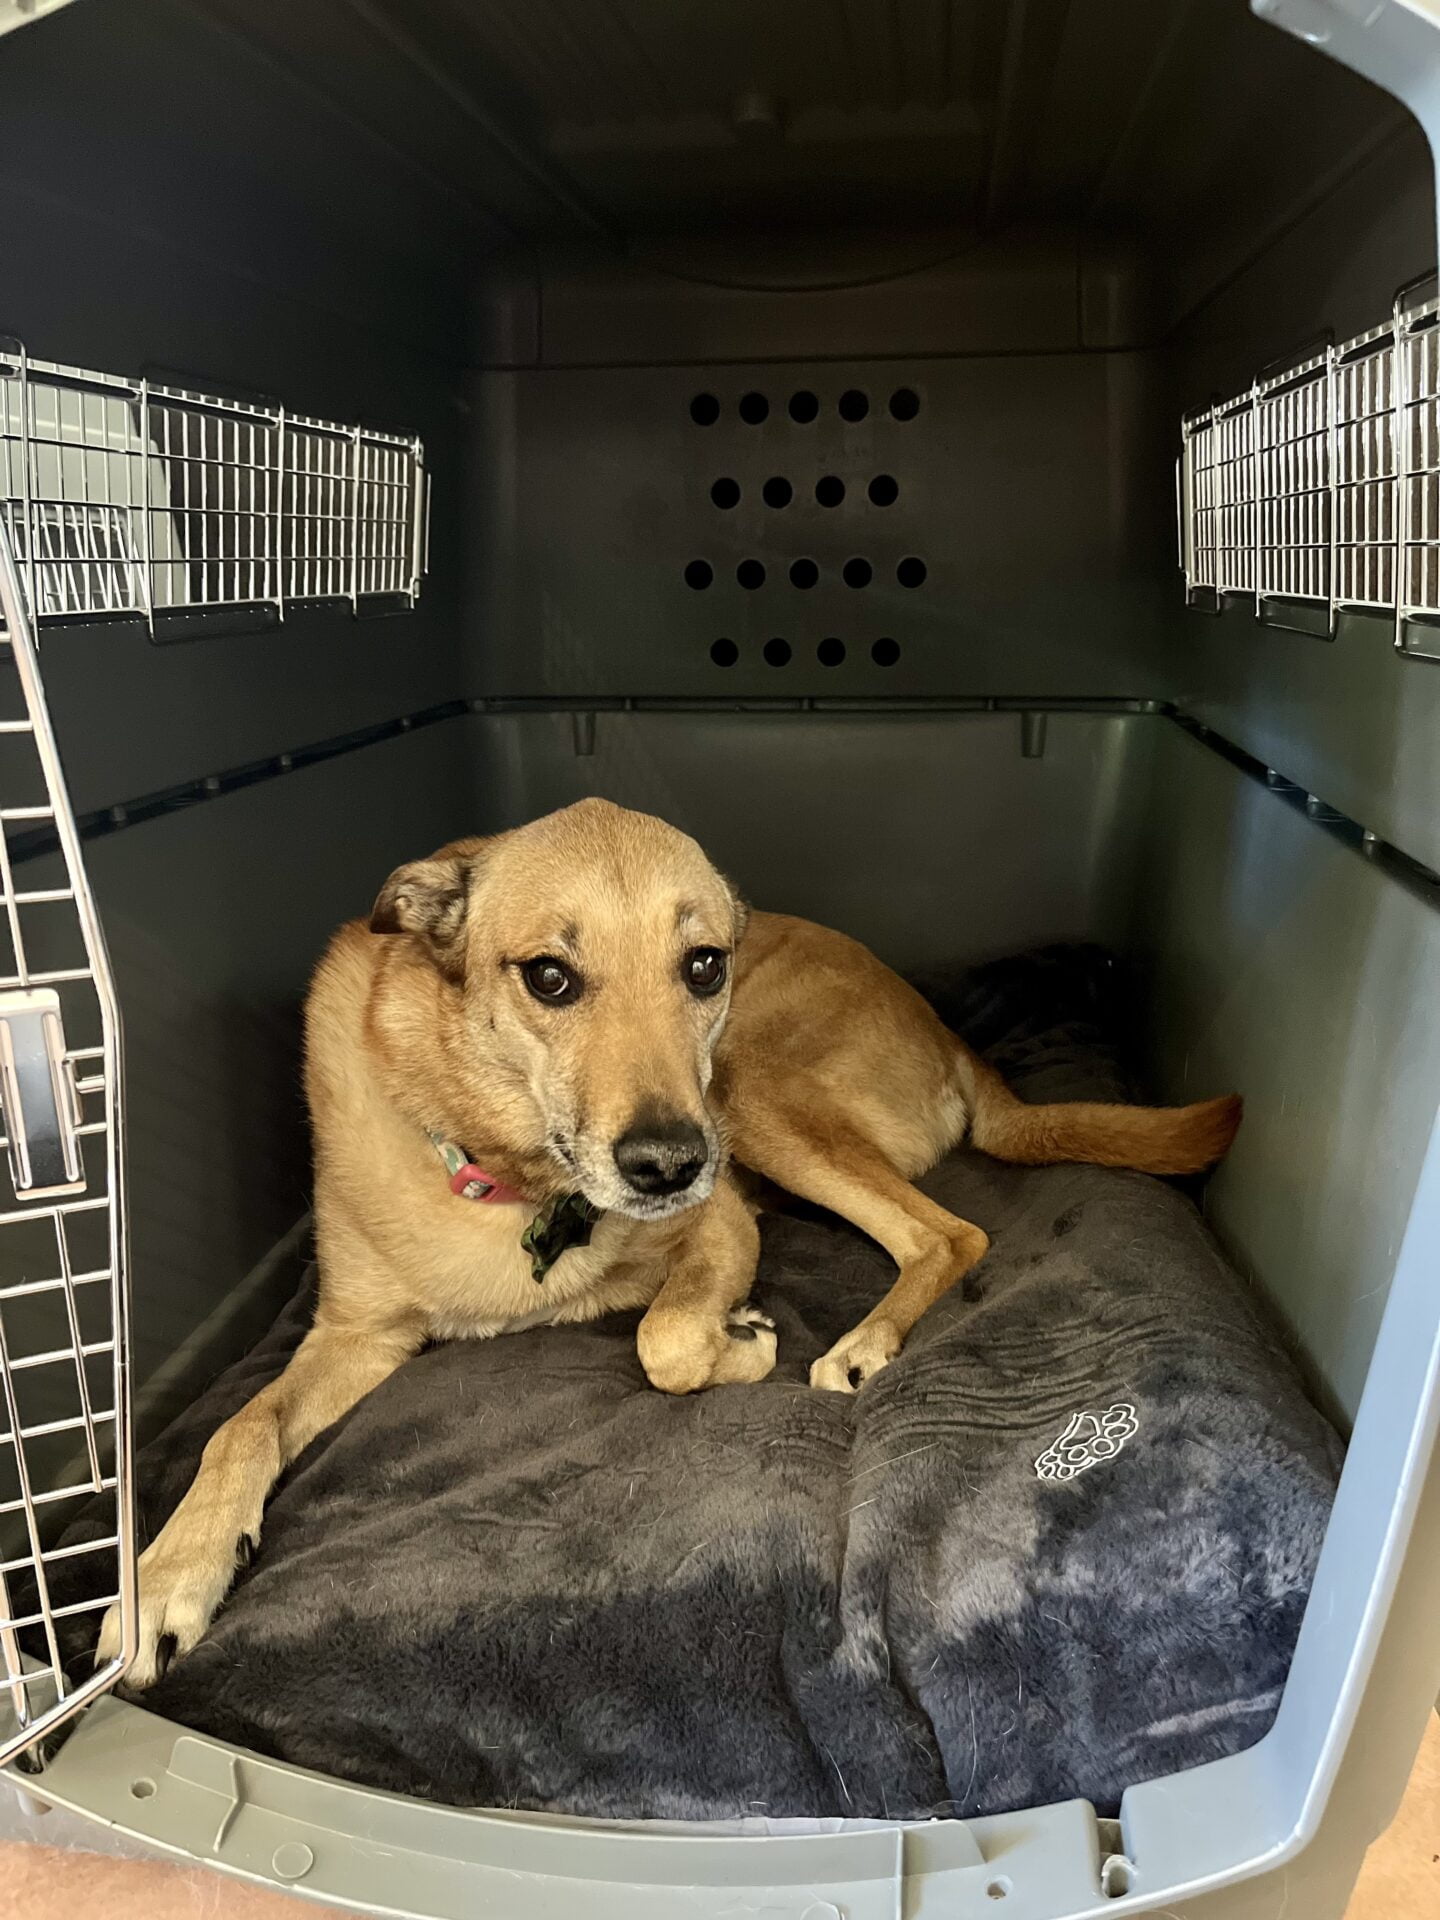
Marlowe in her new travel apartment.
Now in Italy, we brought the dogs outside the airport to use the bathroom and waited for our van pickup, which we arranged prior to arrival to ensure we’d have enough room for the kennels. Forty-five minutes later, the dogs were in their new home. And the barking had finally stopped.
Additional Details
- Quarantine: Italy typically does not require a quarantine period for pets entering the country if all the requirements are met.
- Customs Declaration: When you arrive in Italy, you will need to declare your pet to customs. Ensure you have all the required documents, including the EU Pet Passport and/or health certificate, ready for inspection.
Keep in mind that pet travel regulations can change, so it’s essential to stay updated on the latest requirements from both the United States and Italy and communicate with your chosen airline for their specific guidelines. Your dog’s safety and well-being should be a top priority throughout the journey.
We’ll see you in Italy! Don’t mind the barking.